How to install HP Secure Print - Windows
In this section you’ll get an instructional guide to install HP Print Scout on your Windows device.
Search for and open the “Company Portal” application.
2. Search for HP Print Scout and Install the appropriate office/location version.
A new HP icon will appear in the taskbar and will take a moment to configure.
3. Once the configuration is completed, direct printing will be available. To begin Secure Print setup, click the printer icon.
Secure Print Setup
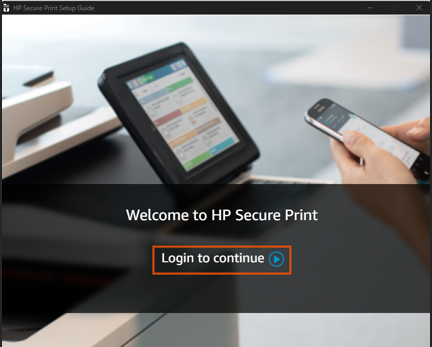
Click the HP Icon in the taskbar. Click Login to continue you’ll be prompted to enter your PowerSchool Credentials and complete the MFA request.
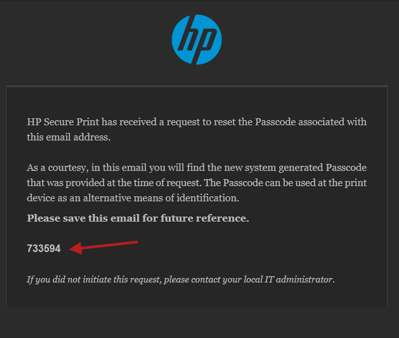
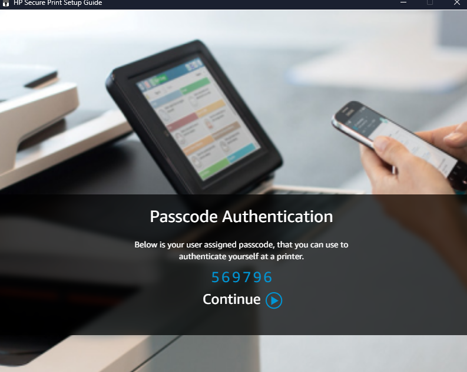
2. You’ll receive a personal Passcode via email and the secure print app. Flag and keep the email for future reference.
3. First time setup will require you to badge at any printer. It’ll prompt you to enter your personal Passcode.
4. Once your badge and account is associated with HP Secure Print. You can either use the passcode or use your badge moving forward. You may now use Secure Print.


