How to install HP Secure Print - macOS
In this section you’ll get an instructional guide to install HP Print Scout on your macOS device.
Search the Self Service application on your Mac and open it.
2. Search HP Print Scout and click Install under the appropriate office/location.
3. Once completed you will see a new printer icon and two pop ups. You can now print as normal. (This is called Direct Print)
Secure Print Setup
1. Click on printer icon and select Show Main Window this will prompt a window to setup.
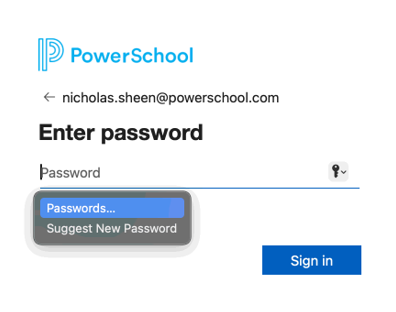
2. It' will require you to sign in with your SSO and request MFA authentication.
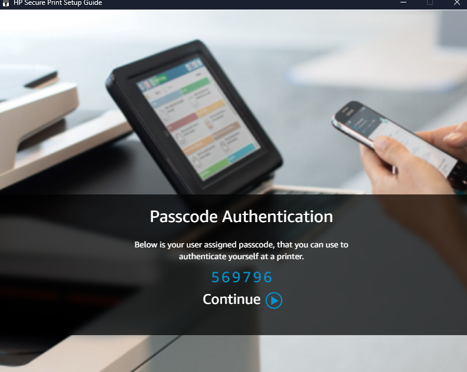
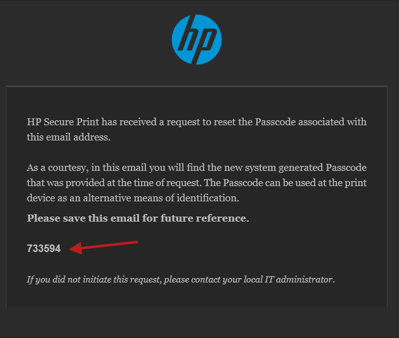
3. After signing in. You will receive a personal Passcode via email and the secure print app. Flag and keep the email for future reference.
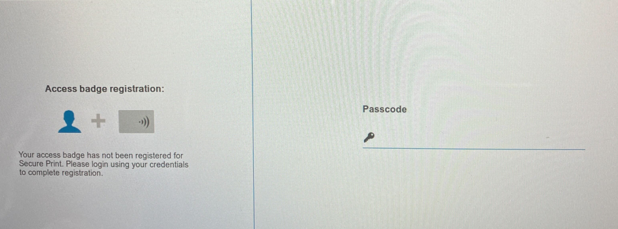
4. First time setup will require you to badge. It’ll prompt you to enter your personal Passcode. Go ahead and enter your passcode.
Once your badge and account is associated with HP Secure Print. You can either use the passcode or use your badge moving forward. You may now use Secure Print.


