

Installing DisplayLink drivers for use of Dell Docking Station on MacBooks
Install DisplayLink Manager Using SelfService
Click on the SelfService icon on your dock (you can also search using the Spotlight search for SelfService)

In the SelfService app, find DisplayLink Manager and click the button below to it to install.

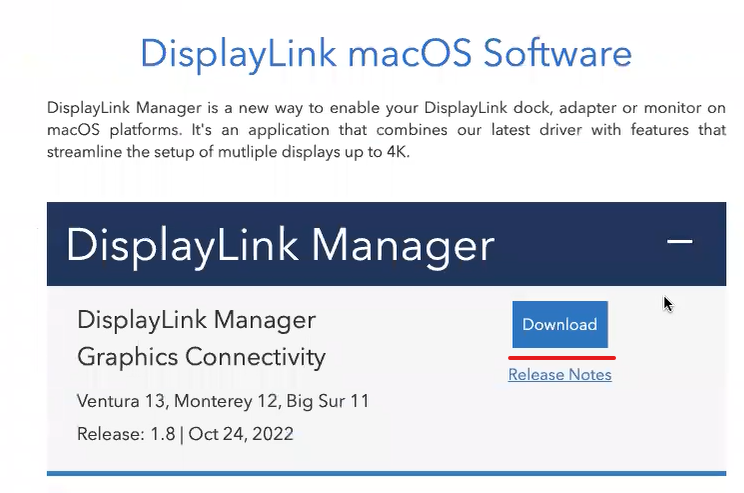
Navigate to this page to download the DisplayLink Manager App for your macOS device:
DisplayLink Manager Download
How to download DisplayLink Manager Manually
Click Download as shown.
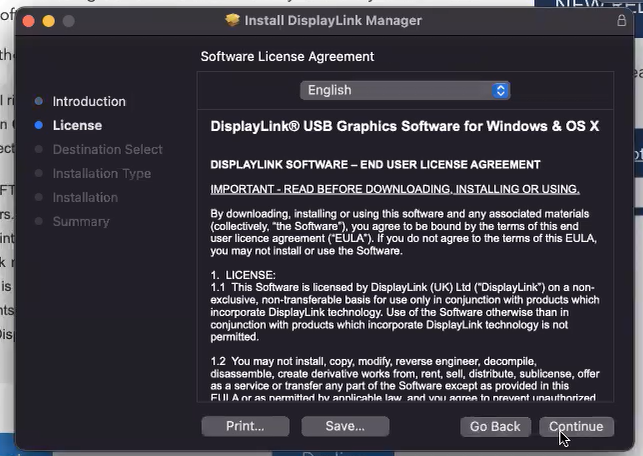
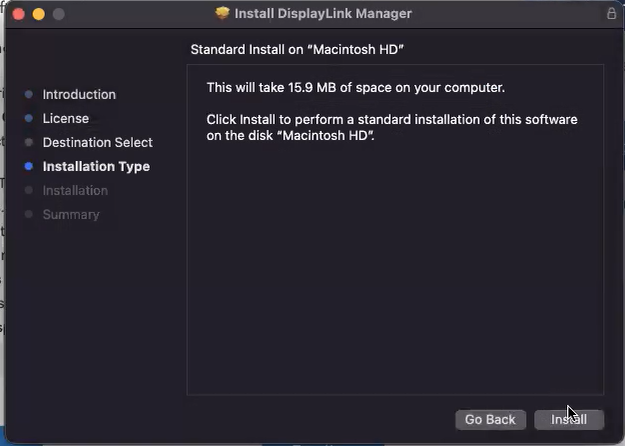
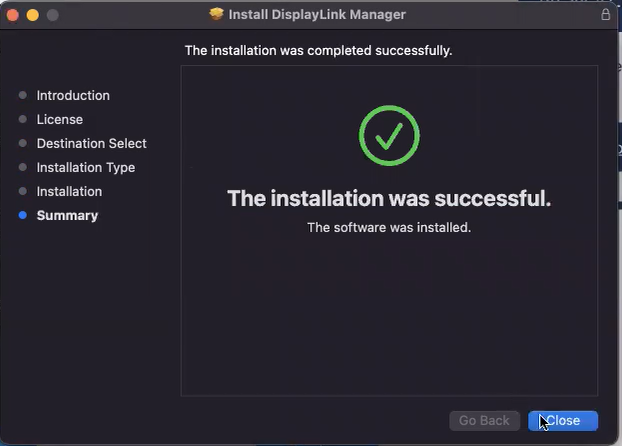
Open the Installer file once it is downloaded, and click through to install as shown.


Configuring Your DisplayLink Settings
After the application has been installed, go to your System Preferences (you can access this by clicking this icon on your dock, searching for System Preferences in your Spotlight search, or clicking the Apple icon in the top left and selecting System Preferences)

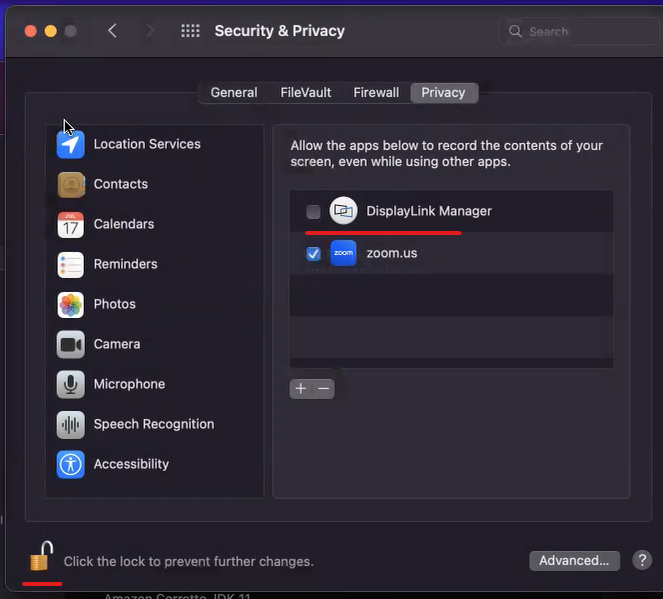
In System Preferences, click on Security and Privacy, then click the Privacy button at the top of the page. You’ll have a scroll menu on the left. Find Screen Recording and check the box next to DisplayLink Manager. You may have to unlock the padlock at the bottom left with your computer’s login password.
While in System Preferences, you can also select Notifications, then select DisplayLink Manager on the left and decide how you want to allow notifications from the program as shown.

You should see a DisplayLink Manager icon near the top right of your screen. Click on that, and in the Home menu, make sure “Launch automatically after login” is checked, as shown.
