

Setting Outlook as your Default Mail Application
Windows Instructions
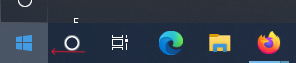
Click on the Start/Windows icon at the bottom left of your computer screen as shown.
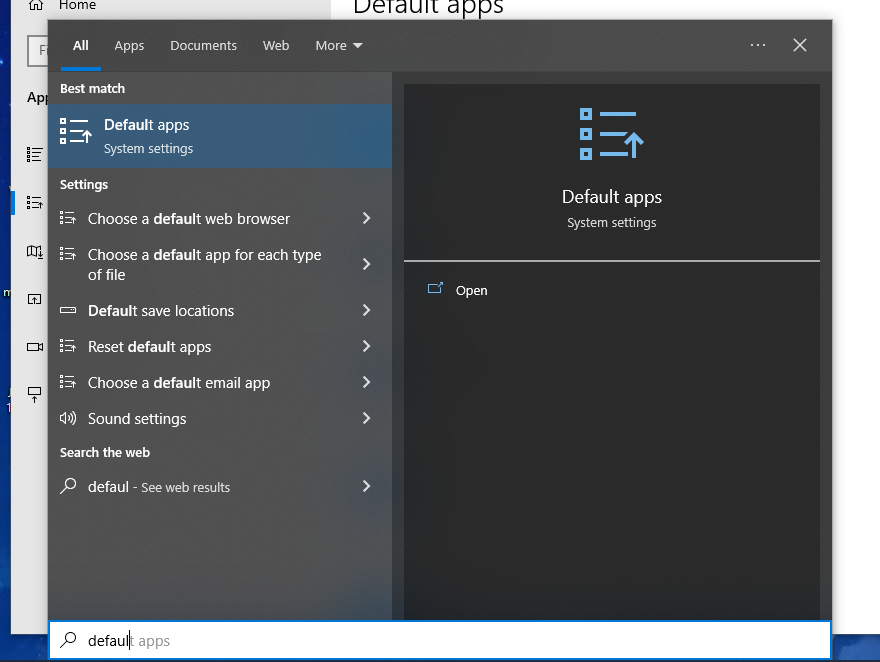
After clicking, type ‘Default apps’ and you should get an option for the Default Apps system settings. Click on this.
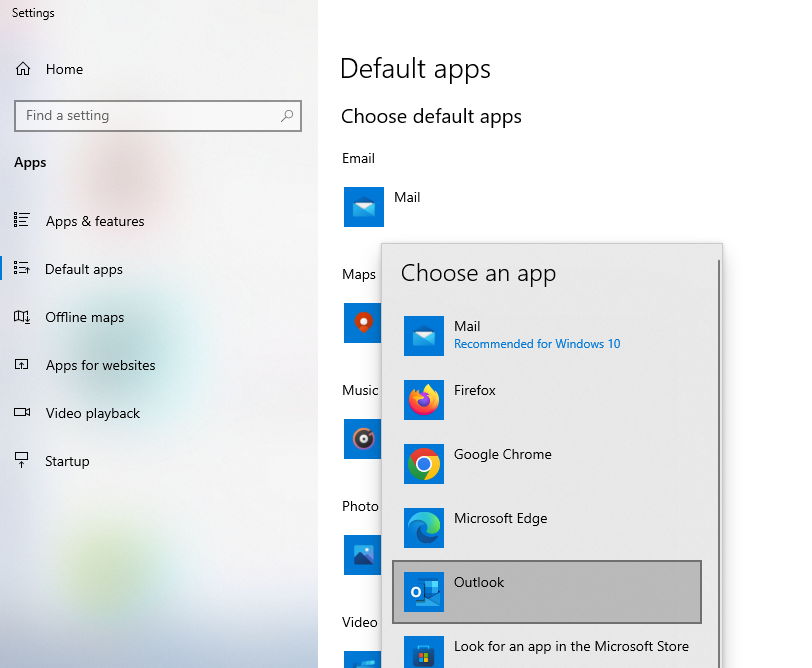
A new window will open with the header Default apps, as shown. Under Email, click the icon for Mail. A submenu should show other options to choose. Select Outlook, and that will be your new default application for all email.
You can also adjust your default browser settings here too!
Mac Instructions
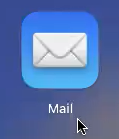
Open the built in Mail app - this can be found either through Spotlight search or in your LaunchPad
Add an account to your Mail app. This will just be temporary, but if you want to use your PowerSchool account, click Microsoft Exchange and follow the next few steps.

Enter your PowerSchool email address and password.

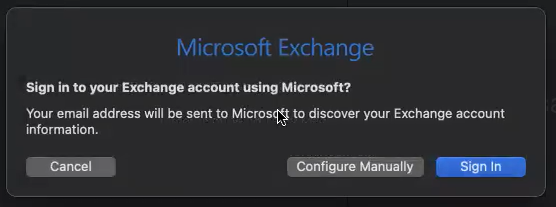
Click Sign In
You will be prompted to log in as normal - use your PowerSchool credentials here.

The only thing you need to select here is Mail. Click Done.

At the top of your screen, click Mail, and then select Preferences.

In the General tab (should be selected by default), click the dropdown for ‘Default email reader’ and select Microsoft Outlook as shown.

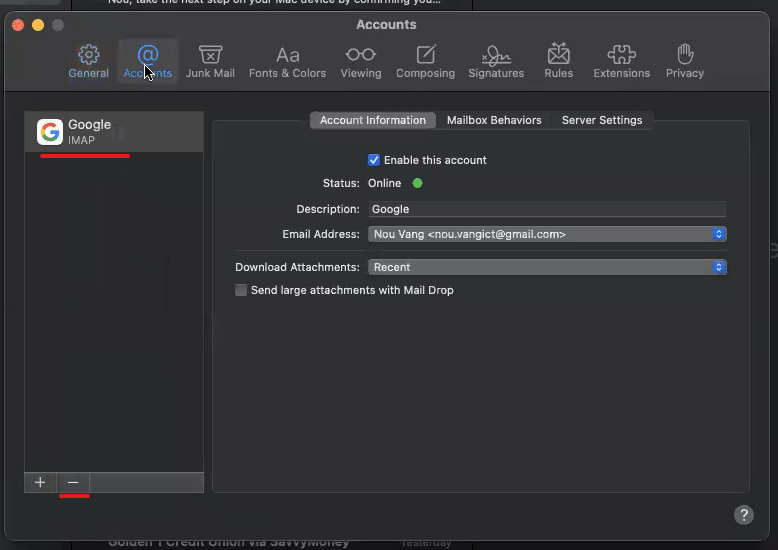
After you have changed the default, select the Accounts tab to the right of the General tab. In the left hand column, select the account thatyou added, and then press the - button at the bottom of the accounts column.
This will take you to your System Preferences - Internet Accounts page. Do the same as above: select the account you added, then press the - button to remove the account.
Quit out of the Mail app, and your Outlook app should now be your default mail application.
